
Finishes and Top-Coats
- Joshua Jones

- Nov 16, 2020
- 5 min read
There are so many options and opinions out there about finishes. I've not been at this long and have used only a small fraction of what's available. Most of my projects are just for fun and learning so I'm trying new things all the time; I don't think I've used the same finish more than once (that's not entirely true.) So here are my impressions of what I have used and what I like or don't like about them.


Danish Oil: For my money, it doesn't get any better or easier than Danish Oil. It's so simple and error proof to use and looks awesome when done. I did have one issue with some maple that I didn't pre-condition where one board came out blotchy. I followed up with a third coat which I wet-sanded at 600 grit and it smoothed out the appearance. I've both conditioned and not and I'm happy either way. The only significant difference I've noticed is end grain isn't as dark on preconditioned pieces. So far I've used Danish Oil under Epoxy, Lacquer, and Poly and it always looks great.
Spray On Lacquer: Steve Ramsey from Woodworking For Mere Mortals is a big proponent of Lacquer Spray. I just used it for the first time on a project for my parents. They were

looking for a tray for their counter so I wanted it to be water resistant. I think I found enough info to suggest it'll do the trick. It was super easy to use, I think I ended up with 6 coats on top and 4 on the bottom. I took Steve's advice and ignored the directions, instead I put on a coat every 15-45 minutes, depending on when I could break away from the Packer's game. I rubbed the finished product with brown paper a few days later and I really love the results. It feels smooth but not like plastic and has a beautiful deep luster.
Gel Stain: The first time I used gel stain was on Wyatt's bed and I didn't want to paint it. I was making it out of poplar and my friend Mark suggested gel stain to prevent the


blotchiness that popular is known for. It worked great and I did a brush on poly top-coat. There's still some unevenness but I actually like it. The second time I used it was pretty different. I was making a gift for Al and wanted to put a design that was only slightly darker than the wood. I had my cousin Jon make me vinyl stencils then I applied Cherrywood stain in very thin layers, trying not to get too much buildup along the edges. I hit any buildup with 600 grit sand paper to try to level it out. Again, I top-coated with poly, this time wipe-on.
Epoxy: I used epoxy on my first set of cornhole boards. I'm super happy with how it worked


but there are some drawbacks. It was pretty easy but messy and the finish is beautiful, if you like the look. It's held up really well so far but it's a little slick for the purpose and I suspect it doesn't help with the weight; it took A LOT, almost 2 gallons! I found that I had to really seal the underside, this stuff finds any pin-hole and glue joint gap.
If I did it again I would definitely do the top as one piece then attach to the base. The way it flowed down the sides was pretty uneven. I'm a little nervous how it will hold up long term, or what to do if it gets scratch up or a chip.
Brush On Poly: I used brush on poly for Wyatt's bed, over the dark gel stain. Going in knowing that I'd need to sand away brush strokes definitely helped. Other than a few runs that were easy to fix I have no complaints. So far my second favorite way to apply poly.
Spray On Poly: I've only used this ones. My sister keeps chickens and is super proud of

their eggs. I made her a stacking egg holder out of some barn wood I had and and wanted to leave it as natural as possible. I sanded the barn wood really quickly with 80 grit to get rid of splinters but tried to leave as much shabby-chic charm as possible. I settled on water based satin spray to avoid a shinny look and the pain of brushing onto a rough surface.
I felt like the 4 light coats they recommend wasn't enough but I guess I didn't have any clear expectations. Ultimately I'm happy with it, you can tell it's sealed but still has a rough texture. I'm hopeful that over time the outer patina won't fall apart.
Wipe On Poly: My least favorite poly so far! I watched some videos and thought this would be easier than brush on, I was wrong. I went against all the advice and bought pre-mixed. At first I tried to apply out of the can but it was thick and sticky and didn't wipe on smoothly at all. I ended up thinning it with mineral spirits but it seemed like no matter how thin I went it would seize up quick and leave horrible marks from the otherwise soft clean cloth. I was expecting something easy to apply like Danish Oil, but lots of thin layers. In the end it took more layers than brush-on (as expected) and I had to sand a lot anyway. I'll need new info or new technique before I try it again!
Mineral Oil / Bees Wax: Long ago Amy and I had a big butcher block island and we made our own oil/wax mixture to seal it. Wow, it looks and works great, but you need to re-apply
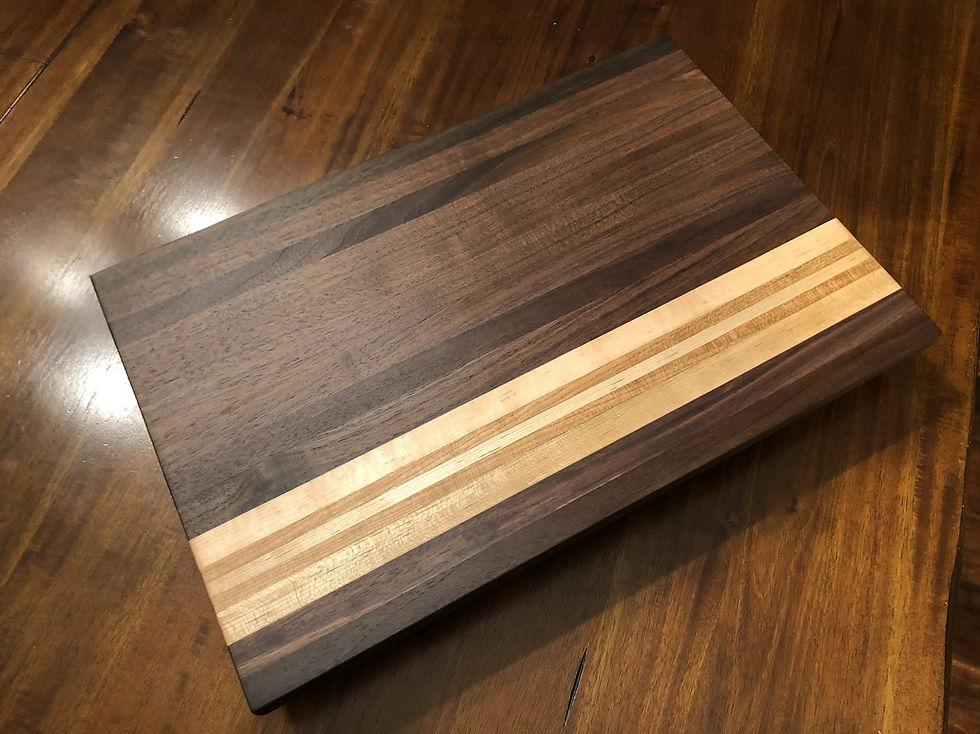
often. When I made the cutting block for my friend Mike I already knew this was the right route. After saturating the board with oil I sealed it with Boos Block Board Cream ('cuz I'm lazy and didn't want to make my own.) Mineral oil is when the board comes to life! Some of the boards that took up the most oil wept it back out for a few days, I'm not sure if that's normal or if I did something wrong, but by the time I shipped it it was nice and dry. I have to admit, I feel a little bit of lose having not having this beauty around anymore; I might need to make another so that I can keep it in my life.
Bare Wood: Bare wood is valid right? When I made the frame

for my parent's flag I went out of my way to track down thick, rustic barn wood and I didn't want to hide it in any way. The surface was nice and solid and the piece wouldn't be touched often so I didn't feel like I needed to seal it. Next time I might use poly spray but didn't use anything at the time.
Pre-Conditioner: To pre-condition or not. My short opinion, it doesn't hurt, but it might not always be necessary. My experience is very limited but like I said above, I've only had 1 board where it made a difference. Interestingly, for second project I used an off cut from the same maple board that didn't take the Danish Oil the first time. It was the bottom of the kitchen tray and I conditioned the top but not the bottom. The conditioned face looked great but the unconditioned face was blotchy again. It was noticeable until lacquer spray gave it a nice even sheen.
Honorable mention, Starbond: I know it doesn't really fit but I've found their colored CA glue (plus activator) to be super helpful! On 2 projects now I've needed to fill a knot-hole so I ordered Starbond's Brown Medium glue and activator. I also had blowout in a walnut spline that I was able to build up and sand smooth. I was amazed how fast it worked to fill holes (less than 5 minutes total for several "pours") and once sanded looks great, nearly undetectable with several different wood species. It was so much easier, faster, and less messy than tinting epoxy and then waiting for several pours to harden.


Comments